


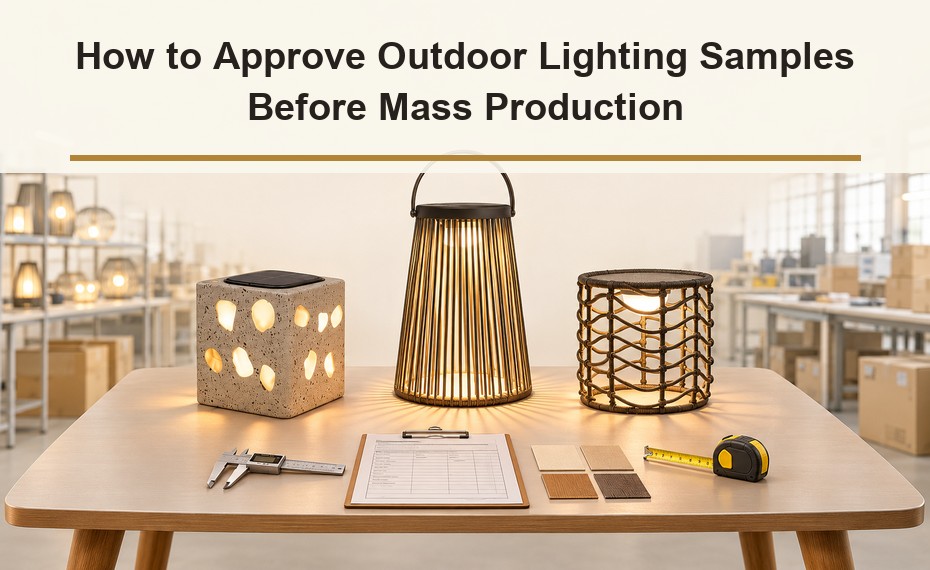
Before approving an outdoor lighting sample, verify the exact model and drawing revision, dimensions, materials, finish, construction, electrical and lighting configuration, outdoor-use requirements, accessories, labels, packaging, and every agreed deviation. Record the results with dated photos and keep one clearly identified approved sample as the production reference.
That is the short answer. The more important point is that sample approval should be a controlled decision, not an informal “looks good” message.
For an importer or project buyer, an outdoor lighting sample order is often the first time the product can be checked as a complete physical unit. A disciplined review at this stage can reduce misunderstandings before materials are purchased and production is scheduled.
Receiving a Sample Is Not the Same as Approving It
A sample can serve several purposes. It may show the design direction, confirm a material or finish, test an engineering solution, or represent the final product that the factory is expected to reproduce.
Problems arise when the buyer and supplier use the word “sample” to mean different things.
Before inspection, ask the supplier to identify the sample stage in writing:
- Appearance sample: used mainly to review shape, color, texture, scale, and visual details.
- Engineering or functional sample: used to review structure, assembly, lighting behavior, controls, and other agreed functions.
- Pre-production or approval sample: intended to represent the agreed specification before mass production.
An appearance sample should not automatically become the production standard if its internal structure, components, packaging, or outdoor-use configuration has not been confirmed.
What Should Be Included in an Outdoor Lighting Sample Approval?
Use the purchase specification, approved drawing, quotation, and change history as the inspection baseline. Do not rely on memory or a product photo alone.
| Checkpoint | What the buyer should verify | Evidence to keep |
|---|---|---|
| Product identity | Model, variant, quantity, and intended market/project | Sample label and overview photo |
| Revision control | Drawing number, version, and date | Approved drawing and revision log |
| Dimensions | Overall size, base, openings, handle, mounting points, and agreed tolerances | Measurement photos and inspection record |
| Materials | Frame, shade, rope/rattan, imitation-stone body, diffuser, fasteners, and other specified materials | Material list and close-up photos |
| Finish and color | Color, texture, gloss, coating coverage, visible marks, and consistency between parts | Color reference, finish chip, and daylight photos |
| Construction | Alignment, joints, weaving or rope spacing, sharp edges, stability, and moving parts | Detail photos and notes |
| Light configuration | Agreed light source, color appearance, output behavior, and control method | Functional video and signed specification |
| Outdoor-use requirements | The exact protection, materials, seals, drainage, and installation conditions stated in the order | Test documents or verification plan, where applicable |
| Assembly and installation | Tools, fasteners, cable routing, mounting method, and instruction clarity | Assembly trial record |
| Accessories and labels | Included parts, spare parts, rating/traceability labels, barcode, and language version | Packing-list photo |
| Packaging | Inner protection, carton size, product orientation, drop-sensitive areas, and shipping marks | Packed-sample photos |
| Deviations | Every difference between the sample and the agreed specification | Signed deviation list |
The approval record should clearly state one of three outcomes: approved, approved with conditions, or rejected for revision.
1. Confirm the Model and Revision Before Measuring Anything
Start by matching the sample to the order documents. Confirm the model code, size variant, finish, light configuration, accessories, and drawing revision.
This sounds basic, but a visually similar sample can belong to a different size or construction version. If the supplier has made a change, the buyer should know whether it is a requested revision, a temporary sample workaround, or a proposed production change.
2. Measure the Features That Affect Use, Installation, and Packing
Do not limit measurement to overall height and width. Check the dimensions that affect the real application:
- Base footprint and stability
- Shade or body diameter
- Handle clearance and movement
- Opening size and pattern location
- Cable exit or mounting position
- Assembly interfaces
- Carton fit and protective spacing
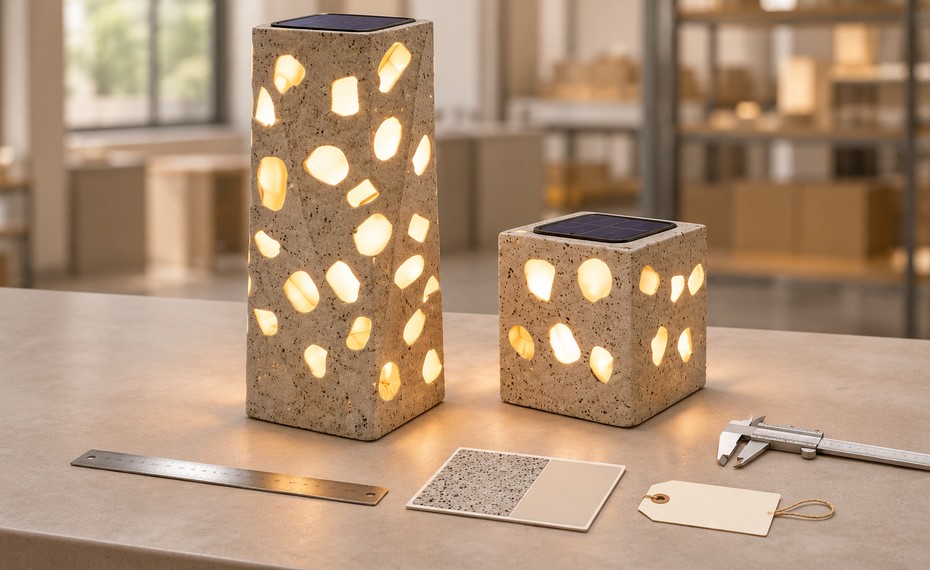
The catalog’s SXT0547 and SXT0548 illustrate why model-by-model checking matters. Both are shown as imitation-stone outdoor decorative lights, but the listed sizes are different: 18 × 18 × 50 cm for SXT0547 and 19 × 19 × 20 cm for SXT0548.
3. Review Materials and Finish Under More Than One Lighting Condition
Color and texture can look different under factory lighting, daylight, and the product’s own warm light. Inspect the unlit product first, then check it again when illuminated.
- Color and texture against the approved reference
- Consistency between the top, body, frame, and base
- Coating coverage around joints and edges
- Scratches, glue marks, dents, gaps, or uneven surfaces
- Whether handmade or woven details remain within the agreed appearance range
4. Inspect Construction, Alignment, and Moving Parts
Outdoor decorative lighting often combines frames, woven or rope elements, handles, covers, diffusers, panels, and fasteners. Check the complete assembly, not only the front view.
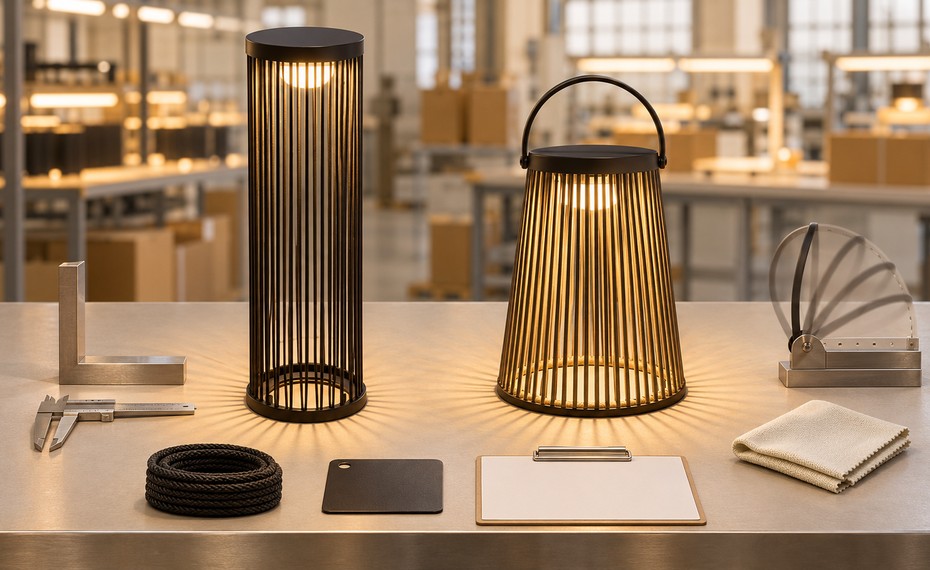
For example, the catalog identifies SXF0517 as an iron-and-rope form and SXT0492 as an aluminum-and-rope form. Their sample checks should not be identical.
5. Test the Agreed Function—Not an Assumed Function
Use the signed specification to define what must be tested. Depending on the selected product and order, this may include switching, dimming, charging, sensor behavior, control pairing, replaceable components, or other agreed functions.
6. Check Outdoor-Use Requirements Against the Order
“Outdoor light” is a category description, not a complete technical specification. The buyer and supplier should agree on the actual environment and installation conditions.
7. Approve Packaging as Part of the Product
A product can pass visual inspection and still arrive damaged if the packed sample was never reviewed. Request a fully packed sample or a packaging mock-up for the final approval stage.
8. Create a Signed Sample Approval Record
A useful approval record does not need to be complicated. It should include: Buyer and supplier names, Project reference, Model variant, Revision number, Inspection dates, Checklist results, and Linked photos/videos.
When Should a Buyer Reject or Conditionally Approve a Sample?
Reject the sample for revision when a difference affects safety, regulatory suitability, installation, structure, required function, core appearance, or an essential purchase specification.
Approve with conditions only when the remaining items are specific, measurable, documented, and scheduled for verification.
Frequently Asked Questions
What is an approved sample in lighting manufacturing?
An approved sample is a physical product or controlled sample set that represents the buyer-accepted specification for production.
Is a product photo enough for sample approval?
No. Photos are useful evidence, but they cannot fully verify dimensions, stability, assembly, material feel, moving parts, lighting behavior, or packaging.
Should buyers approve packaging before mass production?
Yes. Packaging affects product protection, labeling, logistics, and the receiving experience.
Ready to start your project?
Model availability, specifications, ratings, certification options, sample terms, MOQ, lead time, warranty, and spare-parts arrangements should be confirmed for the specific order.
Post time: Nov-12-2026